
One of the biggest mistakes to make in photography is to ask someone what settings they are using and then use those settings and expect the same results. If you aren't shooting in the same spot, at the same time as me, then my settings have no baring in making your pictures better. Even when I shoot a set of pictures I often have to change my settings every time I move my camera, or even if I don't move my camera and a cloud moves over the sun then adjustments need to be made. On the positive, you don't need any training in going manual or even to learn the proper names for each--just play with your camera. When a friend helps me take pictures and I explain what I'm doing it's often "if I turn this nob to the right then the picture will be darker;" I know the terms to an extent but when I'm working it's far more based on past experiences than thinking through the processes and terms.
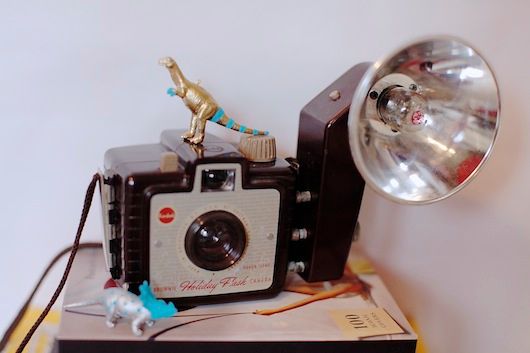
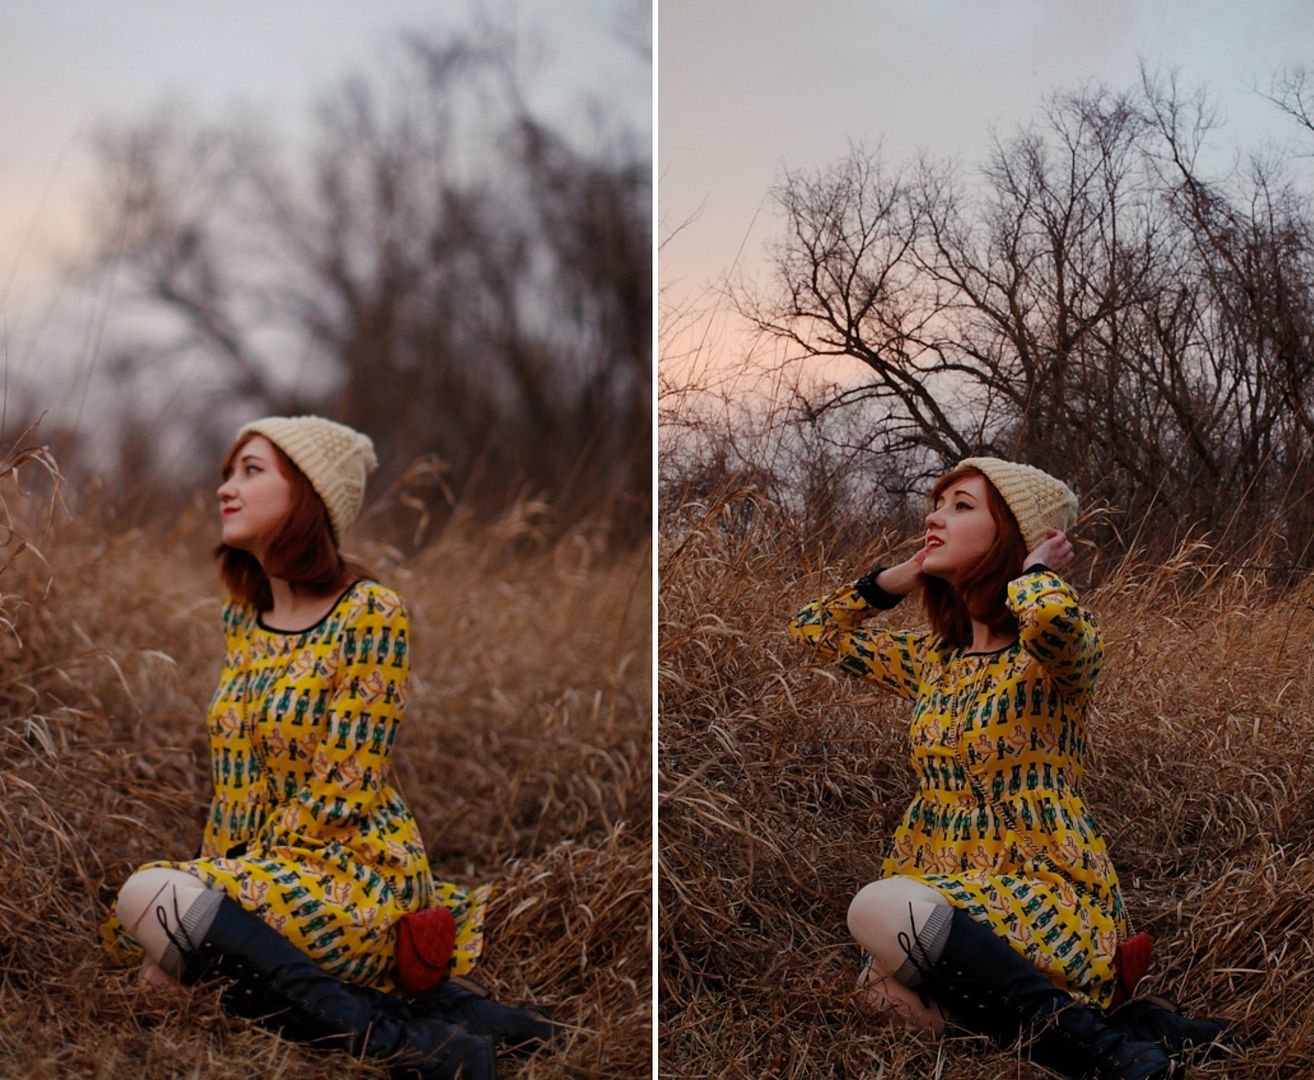
Say no to auto: Your camera's auto settings are only ok; above is a picture take with my auto settings (left) and how I would prefer to shoot it when I go manual (right). The auto settings aren't terrible, but it means more work editing later and shooting outside on a bright day they could leave the pictures way too washed out to be useable.
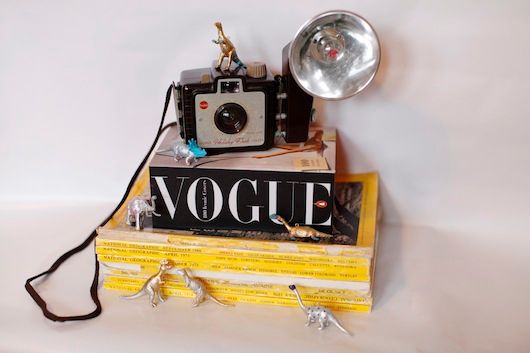
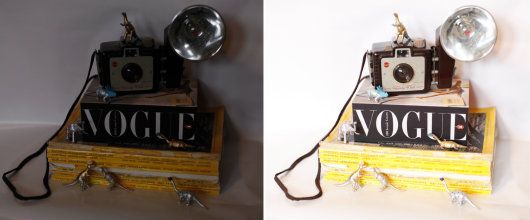
Start with ISO: The first thing I adjust when I'm shooting manually is ISO. ISO controls how sensitive your camera is to light. On the left I have a picture taken with a low ISO and on the right the same picture taken with a high ISO. Basically when you shoot indoors (without a special lighting kit, I'm just using the light from my windows and overhead light) you will need a higher ISO and usually outdoors in typical weather you need a lower ISO. When you do use a high ISO you create more noise in your pictures (creates a texture like grain); sometimes you'll want that and other times it'll be a distraction.
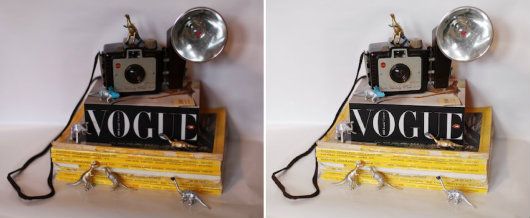
Keep playing around: Keeping the ISO the same, in the above two pictures I adjusted the camera's shutter speed. For myself I like to set a basic ISO then adjust my shutter speed and aperture (f stops). Smaller f tops mean larger openings, or more light and brighter images, while larger f stops mean smaller openings and thus the image will be darker. F stops are like fractions, that's why when I say larger f stops I mean smaller openings, i.g. 1/4 c of milk is less milk than 1/2 c milk.
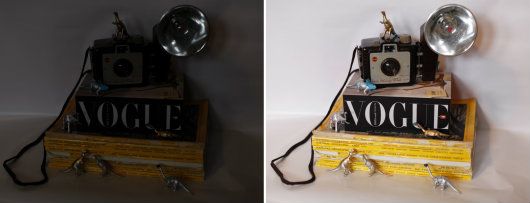
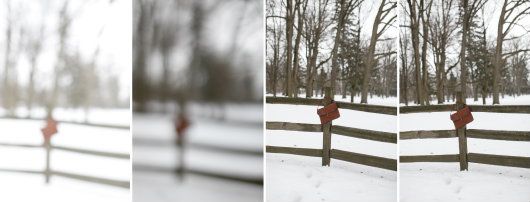
Shutter speed means the amount of time your camera shutter is open--a longer shutter speed means more light is allowed in while a shorter shutter speed means less light. Above left is a shorter shutter speed and above right is a longer shutter speed. You will want a shorter shutter speed if you are shooting a movement shot (like walking across the street) to avoid blur, but there's less light so if you're shooting later at night you will have to use a lower shutter speed which means avoiding to many moving shots. Basically if your subject is dancing around a shorter shutter speed is better, but if you're shooting a still life then it doesn't matter as much.
There are more settings you can play with too--like white balance.
To takeaway: The point of this post isn't instructions on what settings to use in which situations or any particular settings tip but rather stressing the importance of going manual and playing around with your settings. It doesn't really matter if you understand f stops or shutter speed; you make an adjustment, take a picture, make another adjustment, etc. You'll get better at understanding the different settings through practice and be able to adjust things instinctively even if you never learn the proper terms for what you're doing.
Say no to auto: Your camera's auto settings are only ok; above is a picture take with my auto settings (left) and how I would prefer to shoot it when I go manual (right). The auto settings aren't terrible, but it means more work editing later and shooting outside on a bright day they could leave the pictures way too washed out to be useable.
Start with ISO: The first thing I adjust when I'm shooting manually is ISO. ISO controls how sensitive your camera is to light. On the left I have a picture taken with a low ISO and on the right the same picture taken with a high ISO. Basically when you shoot indoors (without a special lighting kit, I'm just using the light from my windows and overhead light) you will need a higher ISO and usually outdoors in typical weather you need a lower ISO. When you do use a high ISO you create more noise in your pictures (creates a texture like grain); sometimes you'll want that and other times it'll be a distraction.
Keep playing around: Keeping the ISO the same, in the above two pictures I adjusted the camera's shutter speed. For myself I like to set a basic ISO then adjust my shutter speed and aperture (f stops). Smaller f tops mean larger openings, or more light and brighter images, while larger f stops mean smaller openings and thus the image will be darker. F stops are like fractions, that's why when I say larger f stops I mean smaller openings, i.g. 1/4 c of milk is less milk than 1/2 c milk.
Shutter speed means the amount of time your camera shutter is open--a longer shutter speed means more light is allowed in while a shorter shutter speed means less light. Above left is a shorter shutter speed and above right is a longer shutter speed. You will want a shorter shutter speed if you are shooting a movement shot (like walking across the street) to avoid blur, but there's less light so if you're shooting later at night you will have to use a lower shutter speed which means avoiding to many moving shots. Basically if your subject is dancing around a shorter shutter speed is better, but if you're shooting a still life then it doesn't matter as much.
There are more settings you can play with too--like white balance.
To takeaway: The point of this post isn't instructions on what settings to use in which situations or any particular settings tip but rather stressing the importance of going manual and playing around with your settings. It doesn't really matter if you understand f stops or shutter speed; you make an adjustment, take a picture, make another adjustment, etc. You'll get better at understanding the different settings through practice and be able to adjust things instinctively even if you never learn the proper terms for what you're doing.


 Support Me on Ko-fi
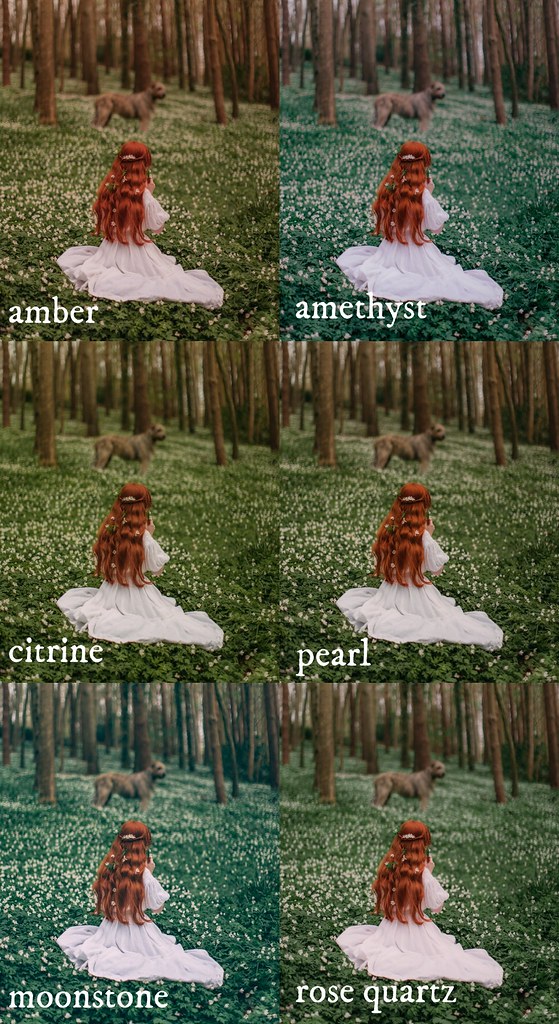
CONVERSATION